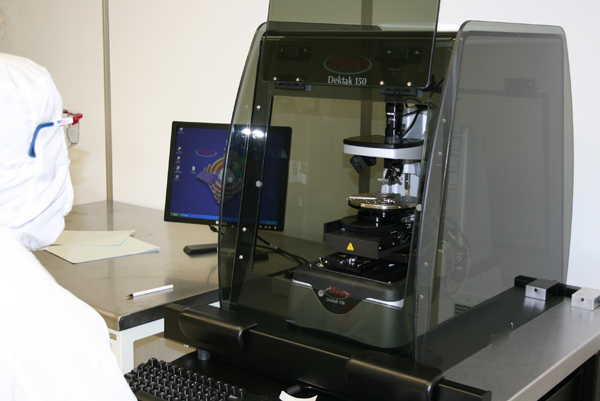
Veeco Dektak 150 Profilometer
step height
stress measurement
3D mapping
up to 6inch wafer
1.) Log on to recipe using the LabAcess Terminal.
2.) Unload the stage by clicking on the bottom right icon in the Stage Control Panel or by pressing Ctrl+Shift+U
3.) Place sample in center position on the stage.
4.) Turn on the vacuum using the switch at the left side of the profilometer block.
5.) Load the stage using the bottom left icon on the Stage
Control Panel or pressing Ctrl+Shift+L
6.) Lower the tower using the icon on the uppermost icon menu.
7.) Adjust Magnification, Focus, and Illumination
8.) Center the Stylus on the crosshair by doing a right click on the image, and select Stylus Reticule -> Align; follow the instructions on the top left corner. OPTIONAL
9.) Right click at the origin of the crosshair; Select Update Alignment Reticule.
10.) In uppermost icon menu, select the icon to Release the Stylus
11.) Find the feature to measure in the sample by using the arrows located on the Stage Control Panel or by doing a single left click on the image and moving the mouse (to release, single left click on the image one more time).
12.) Rotate the stage, if necessary, to correctly positon the feature.
13.) Click on Scan Routines Window (top icon menu) and adjust "Scan Parameters" values
14.) Click on Scan Here icon on the right icon menu.
15.) Carefully rotate black disk to the left if the profile slope is going UP
16.) Carefully rotate black disk to the right if the profile slope is going DOWN
17.) DO NOT PUSH ON DISK WHILE ROTATING
18.) Scan Here again until slope approximates zero.
19.) Level the trace using the level icon or right click -> Level with the R and M cursors.
20.) Move R and M cursors to determine horizontal and vertical distance and other surface parameters.
21.) Once finished measuring, unload stage (Ctrl+Shift+U) and turn off vacuum to remove sample.
22.) Load the Stage (Ctrl+Shift+L) again before leaving the tool.
Connected to Microsoft Exchange


